
Last Updated on July 6, 2023
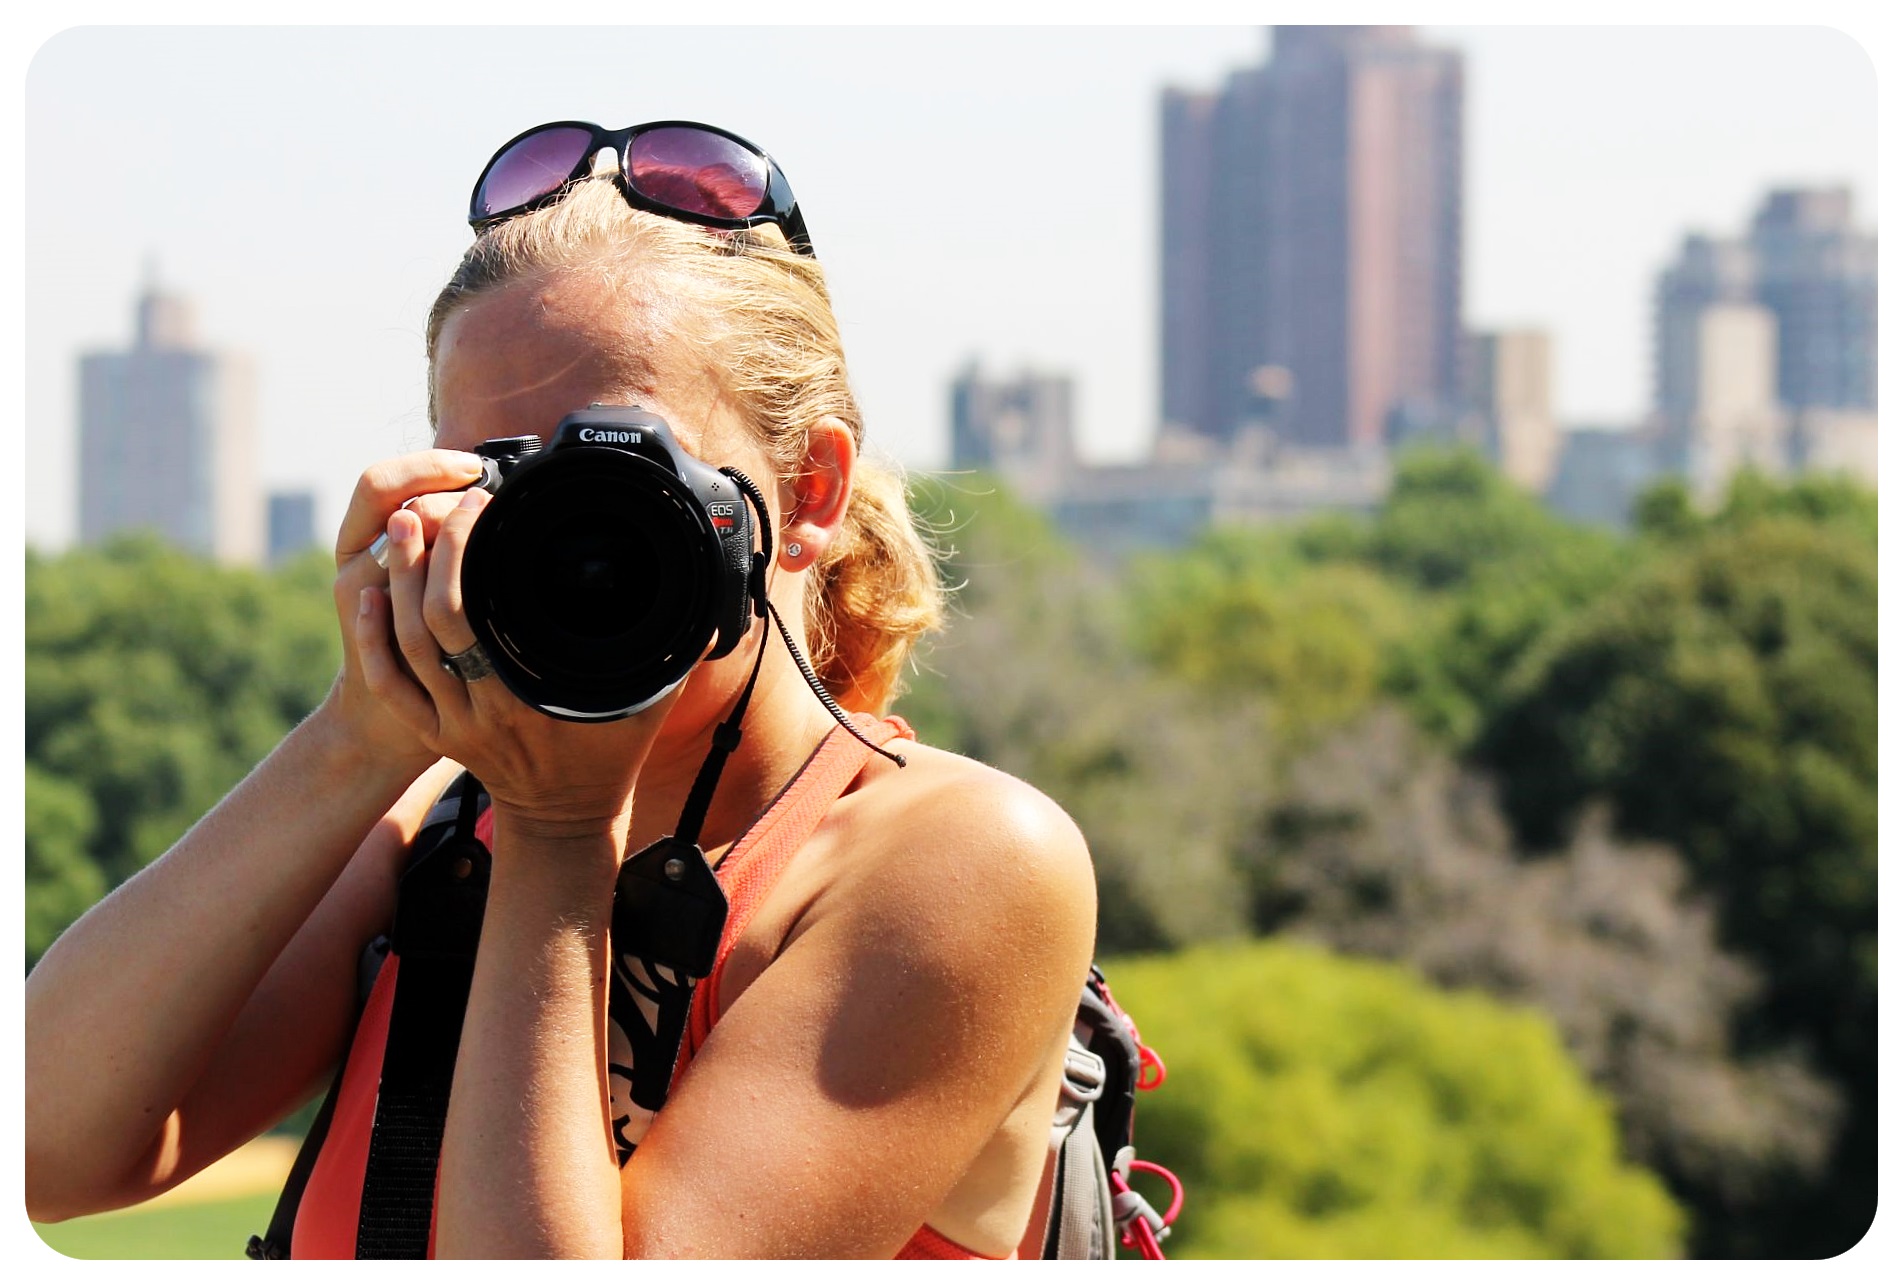
Capturing your travel experiences via photos is exciting, but showcasing them in the best possible light on social media requires a touch of photo editing magic. And whether you’re a holiday snapper or a passionate wanderlust-filled adventurer, having a solid understanding of some quick tips and tricks can help you navigate this creative process with ease.
10 Tips and Tricks for Editing Travel Photos for Social Media
This guide will walk you through editing your travel photos before posting them online, shedding light on some of the best tips. Dive in to elevate your social media photo editing game!
1. Choose Your Best Shots
Once you’re back from your trip, it’s natural to have collected thousands of pictures that document every moment. However, not every picture is worth sharing on social media. Be selective in picking out the best photos that showcase your adventure in the best light possible.
Focus on identifying images with excellent composition, interesting perspectives, or ones that encapsulate unique moments. Make sure these images are high-quality and easy to edit.
2. Embrace Cropping
Cropping isn’t just about sizing an image to fit a particular dimension; it’s a creative tool that enhances a photo by removing unnecessary objects from the scene. Through thoughtful cropping, you can emphasize specific elements and direct your audience’s attention.
It also provides an opportunity to play around with the composition of your photo, potentially changing its entire feel. Don’t shy away from this simple yet powerful tool; embrace it instead!
3. Utilize Color Correction
Sometimes, your travel photos might look a little dull or off-color straight out of the camera. This is where color correction comes in. By tweaking the saturation, vibrancy, or temperature sliders in an editing app, you can alter the mood of your image, making it appear warmer or cooler.
It also lets you correct unnatural colors that may be present due to bad lighting. Prepare for a bit of experimentation, as you’ll need to tamper with sliders to get the most out of your shots. 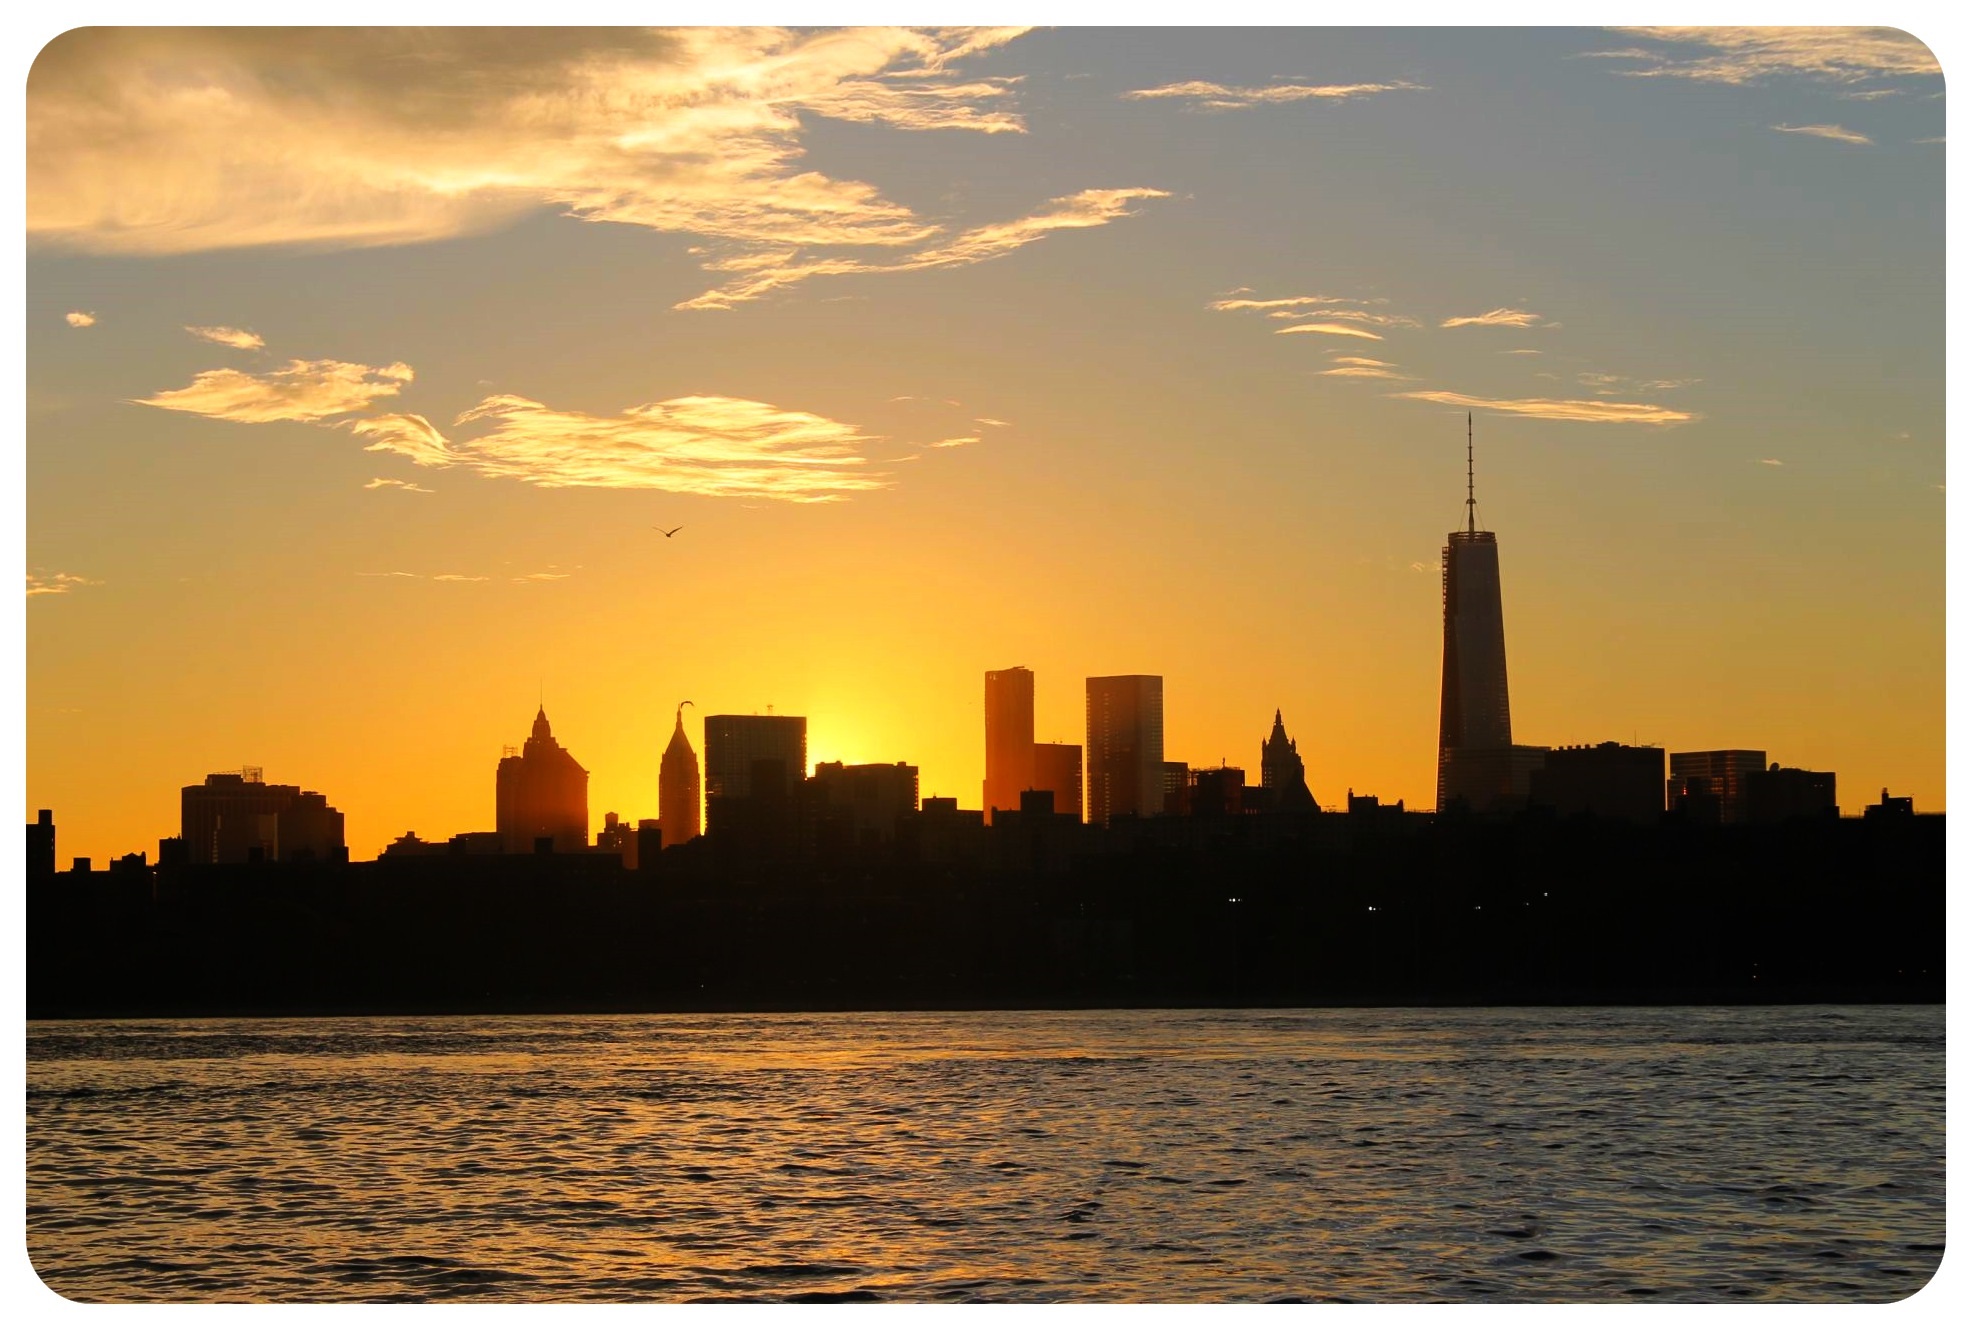
4. Remove Image Backgrounds
In the process of editing your travel photos for social media, you might encounter images with distracting or undesired backgrounds. But don’t throw away the photo just yet! You can easily remove image backdrops online using a variety of AI-powered tools, including Picsart.
All it takes is a few clicks, and you end up with a clean cutout of your subject that can be overlaid on solid colors, other picaresque scenes, or used alone for a more dramatic effect.
5. Enhance Lighting
Lighting plays a crucial role in the outcome of your photos, dictating mood and atmosphere. However, it’s not always possible to capture perfect lighting while you’re traveling. Fortunately, you can enhance the brightness or the shadow details in any photo using editing software.
Even an image taken in less-than-optimal light conditions can come alive by correctly altering blown-out or darkened photos, as it reveals hidden depths and details obscured by poor lighting!
6. Reveal Details with HDR
High Dynamic Range (HDR) editing is a fantastic tool to capitalize on when fine-tuning your travel photos. This technique works to balance the light levels in your images, drawing out details hidden within the highlights and shadows that often get lost in photo processing.
HDR combines multiple shots at different exposures to create an end result packed with detail and depth, representing a more accurate visual experience without relying on editing programs.
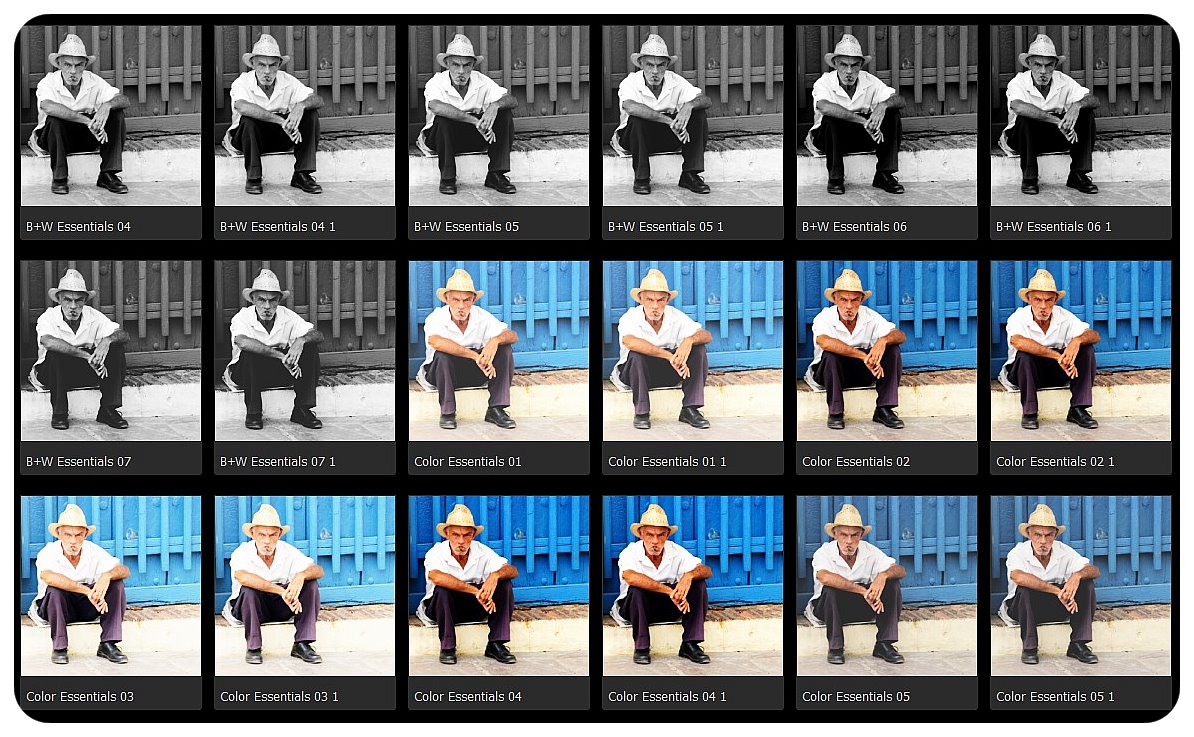
7. Don’t Rely on Filters
Whether you’re going on a trip to Asia or Africa, you’ll likely want to bring out the best photos that highlight your travel experience. But if you go all-out with filters, it’ll be difficult for your followers to know what’s going on. For this reason, you should try to keep your shots candid.
Some editing is a good thing. In fact, we recommend it! However, if the filter makes your images look distracting or gaudy, that’s a problem. Use filters sparingly or consider not using them at all.
8. Straighten Your Horizons
Straightening your horizons ought to be one of your top priorities while editing travel photos for social media. Have you noticed how, despite your best efforts, those scenic beach or panoramic skyline images don’t look right? More often than not, it’s because the horizon line is slightly bent.
Thankfully, most photo editing platforms offer straightening tools that let you tweak and align your image until the horizon is perfectly leveled, making your image look more professional.
9. Retouching Portraits
Retouching portraits is a significant part of photo editing, particularly when your travel photos include a wealth of people-focused shots. Facial features often require a different approach in editing since they hold fine details and textures that we naturally focus on in selfies.
Features like skin tone can be softened using retouching tools for a more polished look, or you can use tools to enhance the eyes in close-up photographs to draw attention. 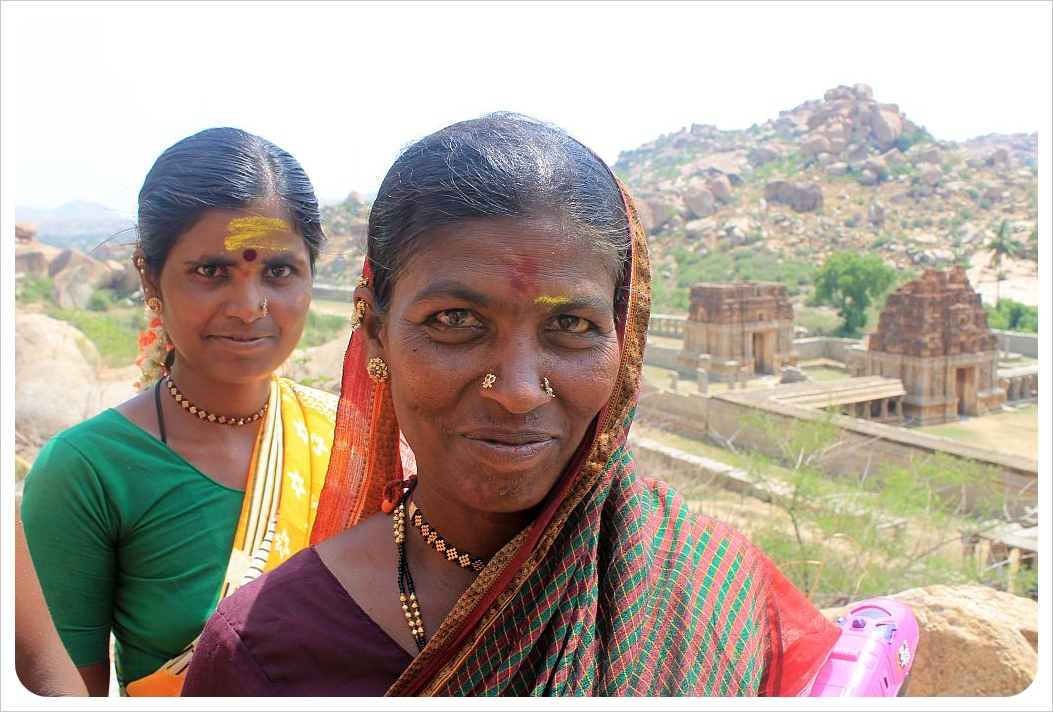
10. Consistent Editing Style
As you prepare your travel photos for posting, consider the kind of aesthetic you want to build. Are you leaning towards warm, sun-kissed hues or prefer more minimalist, monochrome shots? This consistency comes from applying similar tones, contrasts, and filters across your images.
Keep in mind that your photos don’t have to look identical, but they should carry similar cohesive elements. It’s this uniformity that makes your posts immediately recognizable to users!
In Conclusion…
With these quick tips and tricks in your photography toolkit, you’re well-equipped to turn your travel photo collection into a mesmerizing gallery for social media! Remember, every edit you make should strive to enhance the natural elements of your shot rather than overshadow them.