Last Updated on April 24, 2026
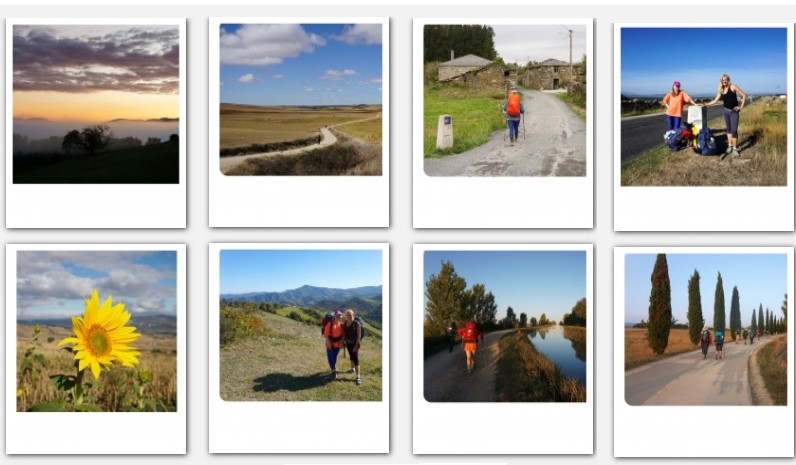
Every trip comes with a handful of photos that almost captured the moment. The light was right, and the composition felt good, but something in the final image falls flat. That gap between what you saw and what the camera recorded is precisely where editing comes in. And no, you don’t need a laptop or a professional setup to close it. A good smartphone and a couple of apps are all it takes to have some photos worth sharing.
How do you edit your travel photos?
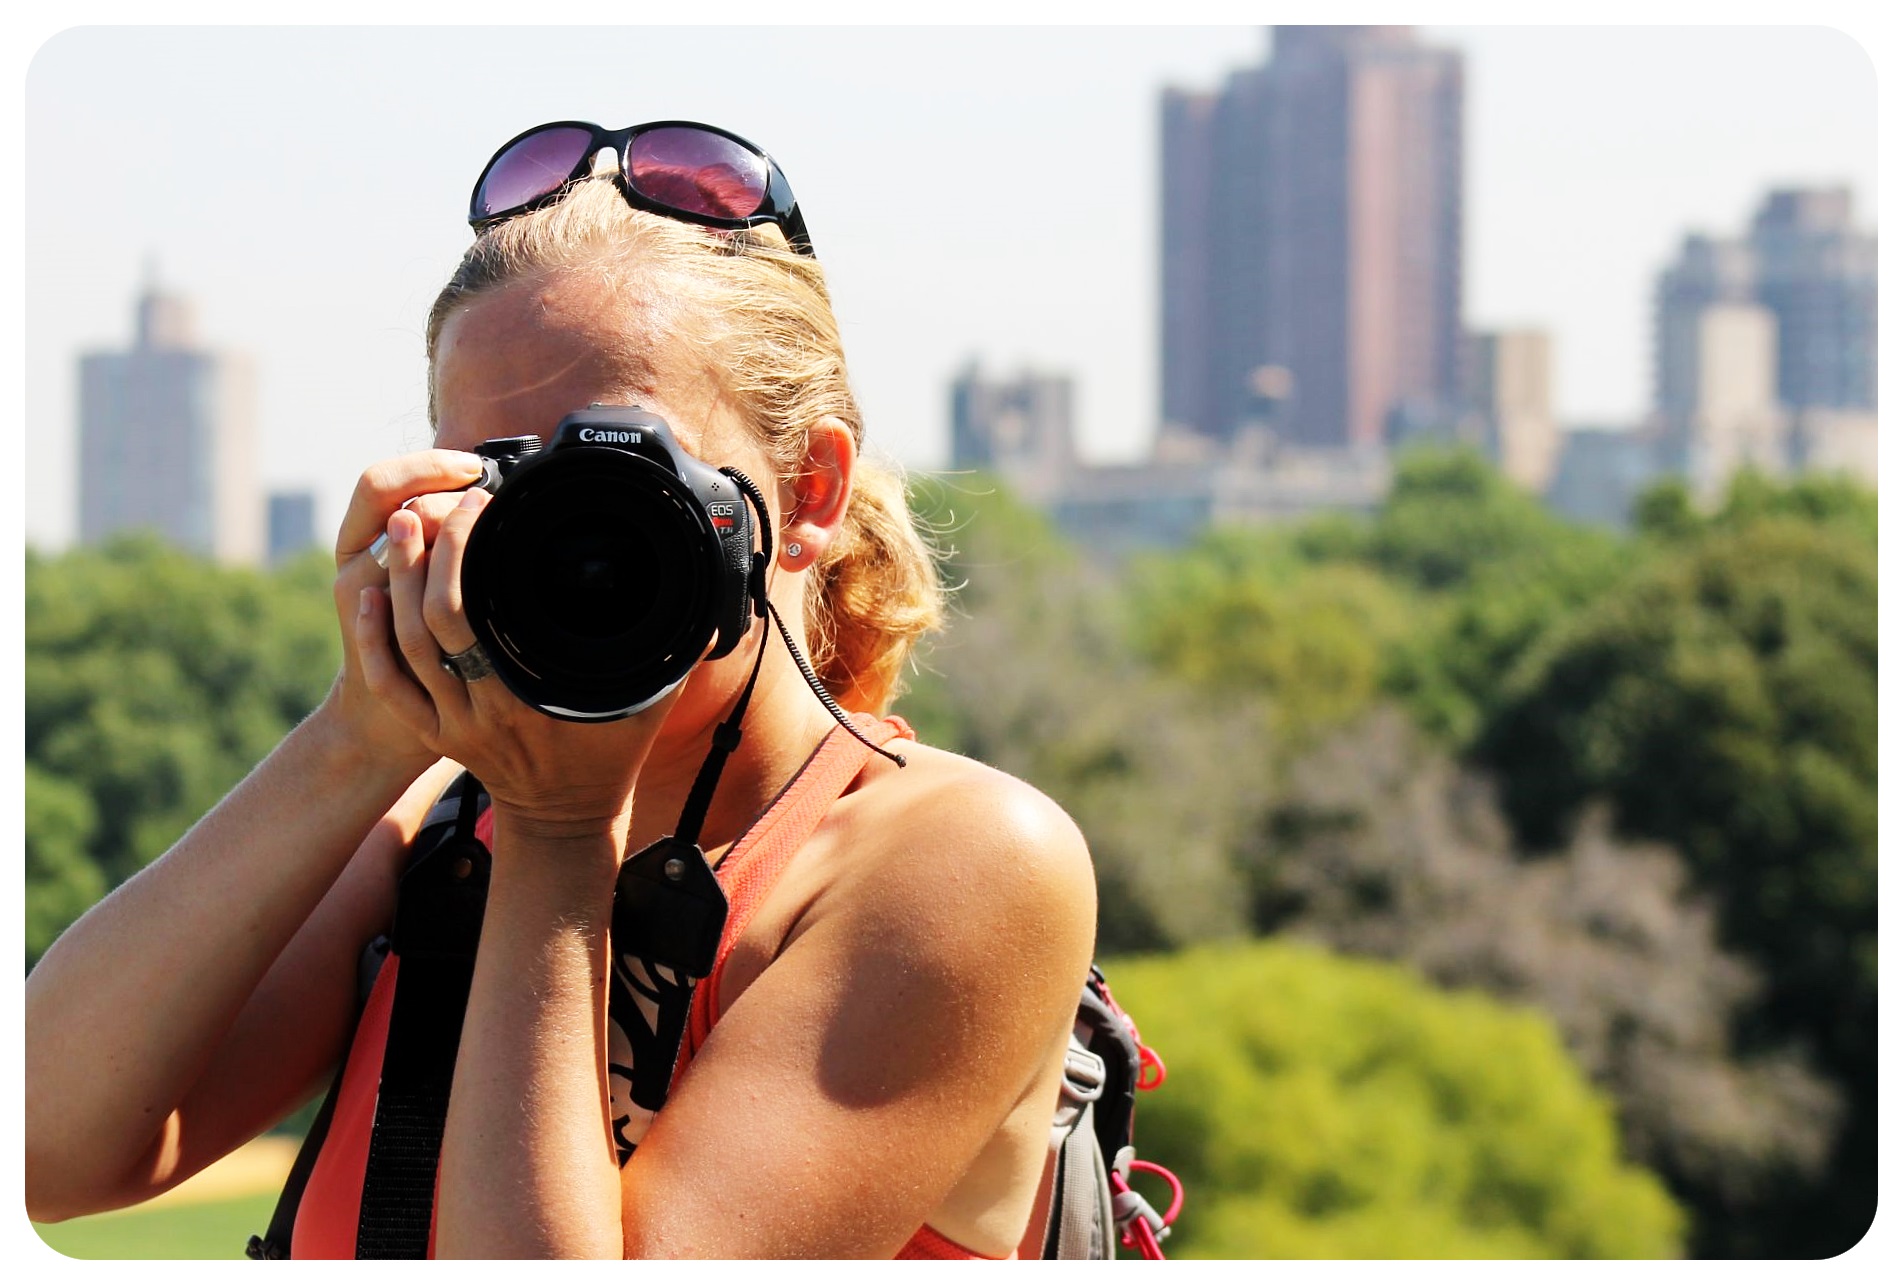
It all starts with the right device. A phone with a capable camera and a sharp, color-accurate screen makes a real difference. That’s one reason many travelers shoot and edit on an iPhone 16, since the display is reliable enough to trust your edits, and the camera captures enough detail to give you real room to work in post. If the price of a new one feels steep, Back Market, the marketplace for verified refurbished electronics, offers certified units at a significantly lower cost, so upgrading your gear doesn’t have to mean emptying your wallet.
Once you’re set on a device, the real work is building a workflow you can repeat. Most experienced mobile editors fix exposure and contrast first, then adjust color, and leave any finishing touches for last. It’s a logical sequence, and sticking to it means you spend less time second-guessing yourself mid-edit.
The hardest thing to learn, though, is the restraint. A photo taken at golden hour in a mountain village already has atmosphere; your job is to bring that out, not rewrite it. Small adjustments tend to age better than dramatic ones, and they’re far easier to stay consistent with across a whole trip’s worth of images.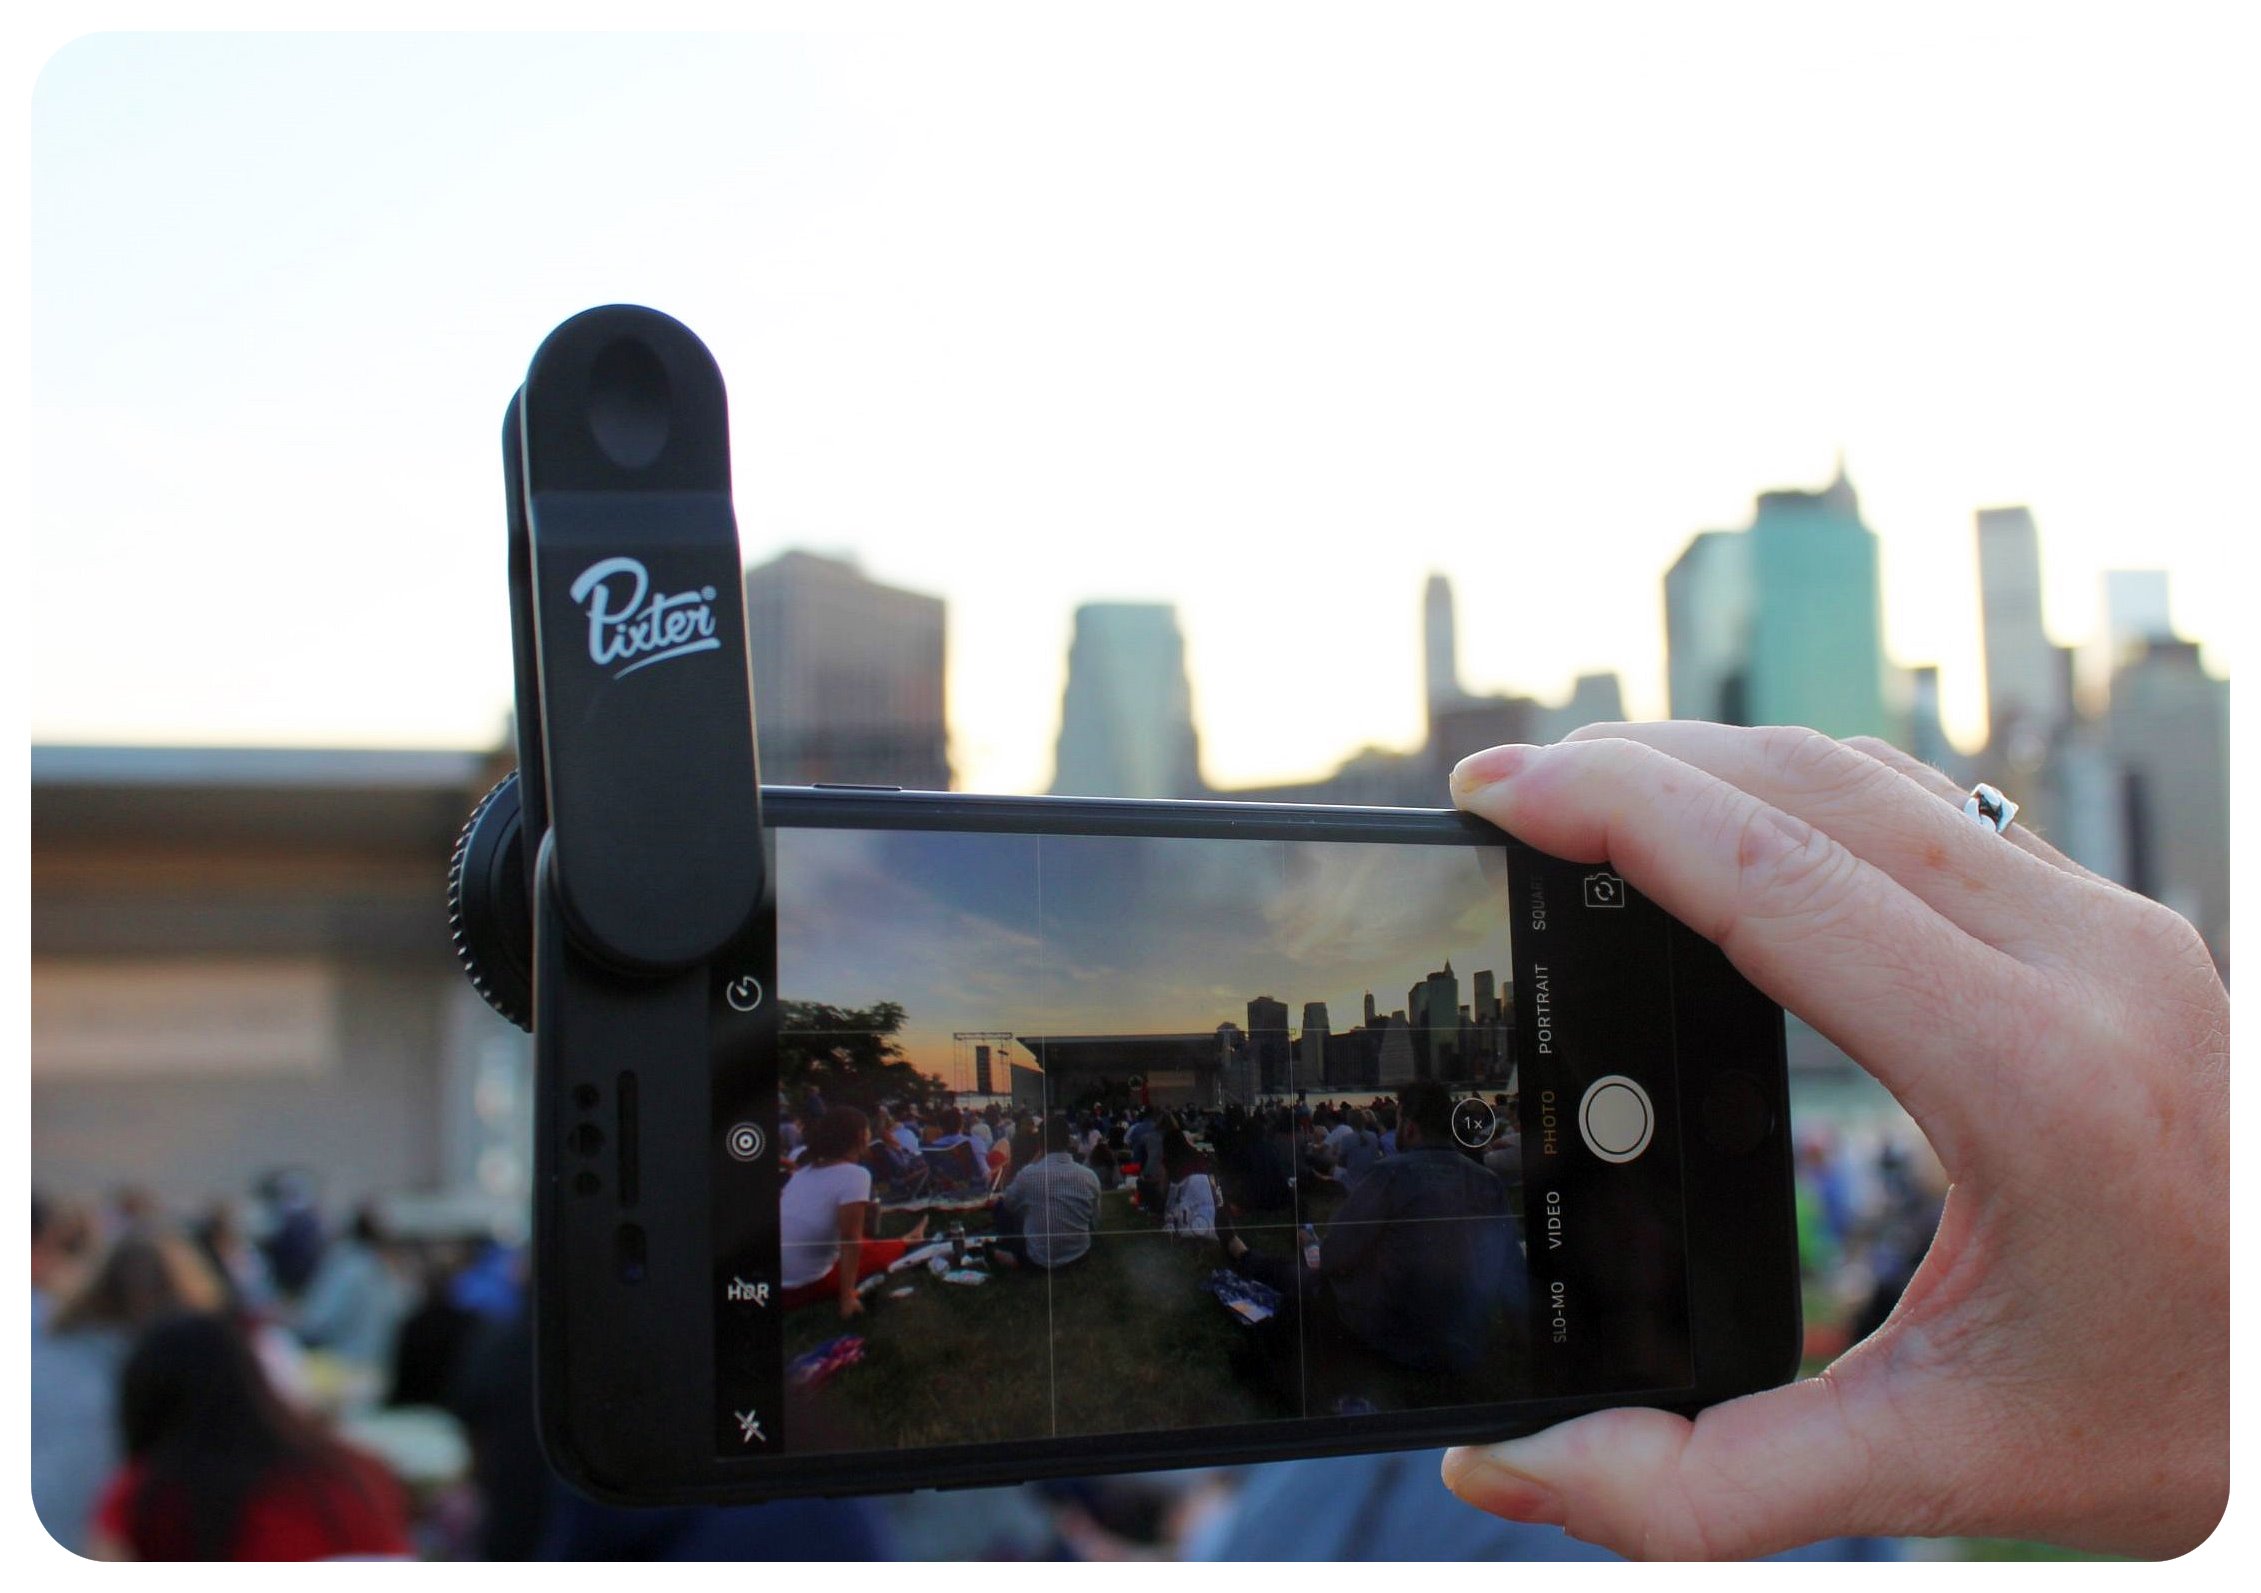
How can I edit my pictures for free?
You’d be surprised how much you can do without spending a single dollar. Snapseed, a free app from Google, covers almost everything a traveling photographer needs: exposure and color sliders, a healing tool for removing distractions, selective adjustments for targeting specific areas of a frame, and even a curves tool that gives you granular control over tones.
Adobe Lightroom’s free tier is another strong option, especially if you already have a sense of what look you’re going for. It includes presets, a detailed color-grading panel, and cloud sync, useful when you want to pick up an edit on your laptop later. Many creators use a preset as a starting point and then adjust from there, which cuts editing time considerably once you’ve found a style you like.
If you’re drawn to a more analog feel, VSCO has built a loyal following because its filters have a warmth and texture that works particularly well for travel photography, and the interface is simple enough that you won’t lose half your afternoon figuring it out. The free plan covers the basics comfortably, and for many people, the basics are all they need.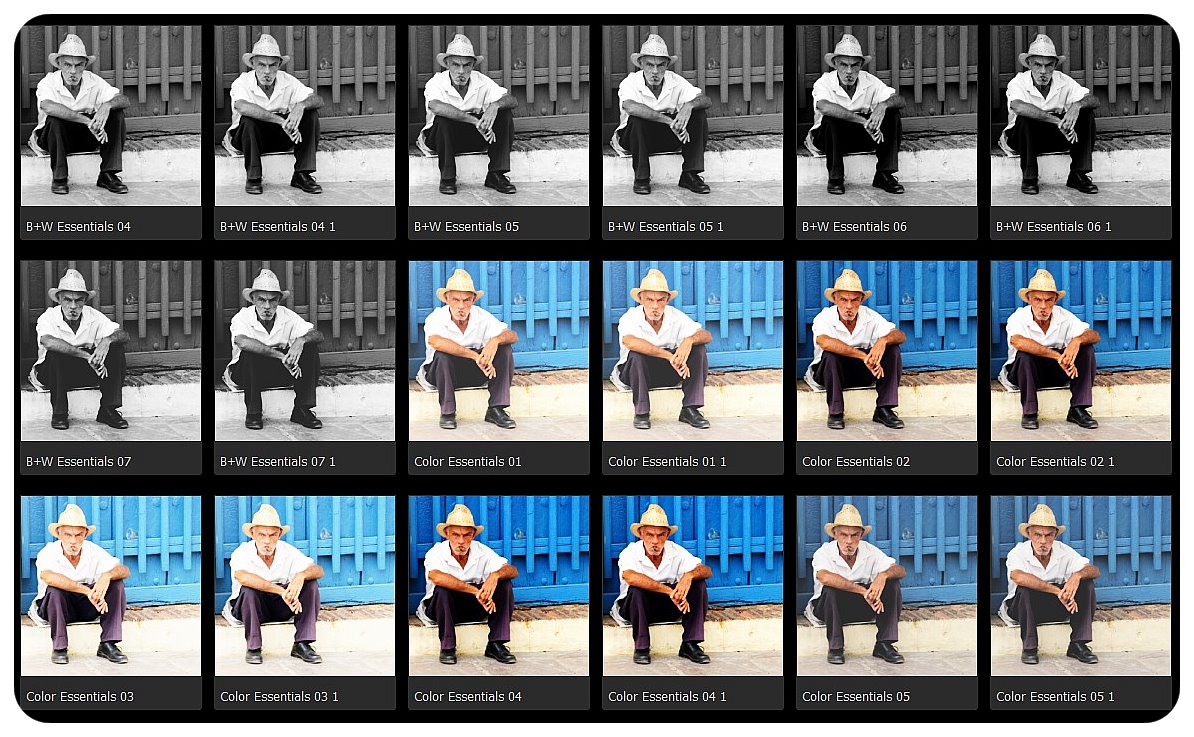
What are the best tips for editing on a small screen?
Your eyes adapt to whatever you’re looking at. Stare at a photo for five minutes and you’ll stop seeing whether the whites are too blown out or the shadows are too crushed. Step away for thirty seconds, look at something else, then come back. You’ll spot things immediately that you missed before.
Beyond that, learn to use selective edits rather than global ones. Brightening an entire photo to lift a person’s face often means blowing out the sky in the process. Tools like Snapseed’s selective brush or Lightroom’s masking feature let you target exactly what you want to change without affecting everything else.
And don’t overlook the crop. A tighter frame can remove a distraction at the edge, shift the focus to your actual subject, or simply give a photo better proportions for wherever you’re posting it.
How do you keep a consistent style across all your travel photos?
The simplest approach is to pick one preset or build your own and apply it as a base to every photo before you start tweaking individual settings. That way, even images taken in very different conditions share a common thread.
It also helps to think about your style before you shoot, not just after. If you know you like warm, slightly faded tones, you’ll naturally start paying attention to the light and the colors in a scene before you press the shutter. That connection between shooting and editing is what tends to separate travel photos that feel curated from ones that feel random.
Editing on the go has become genuinely accessible. Between capable smartphones and free apps that once would have cost hundreds of dollars as desktop software, the main investment now is time: learning what works and developing an eye for what a photo needs. Start simple, stay consistent, and the rest tends to follow.